
CLEAR THE WAY TO UNMATCHED COMFORT:
PREMIER HVAC AND PLUMBING SOLUTIONS

ABOUT CLEARVIEW SERVICES
Are you looking for a trusted plumbing company in Calgary, Alberta? Do you need a reliable HVAC provider in your area? Expertly trained technicians from ClearView Services are here to help! Our team of licensed professionals offers a full range of heating and plumbing services, repairs, installations, and more. We strive to provide the highest quality service and ensure satisfaction for each of our customers. With over 26 years in business, you can trust our team to take care of all your plumbing and HVAC needs. Whether you are looking for expert AC installation or heating repair services, we are always here to help! We are committed to delivering excellence in customer service and satisfaction. Contact us today for an estimate!
COUNT ON US, WE’VE GOT YOU COVERED!
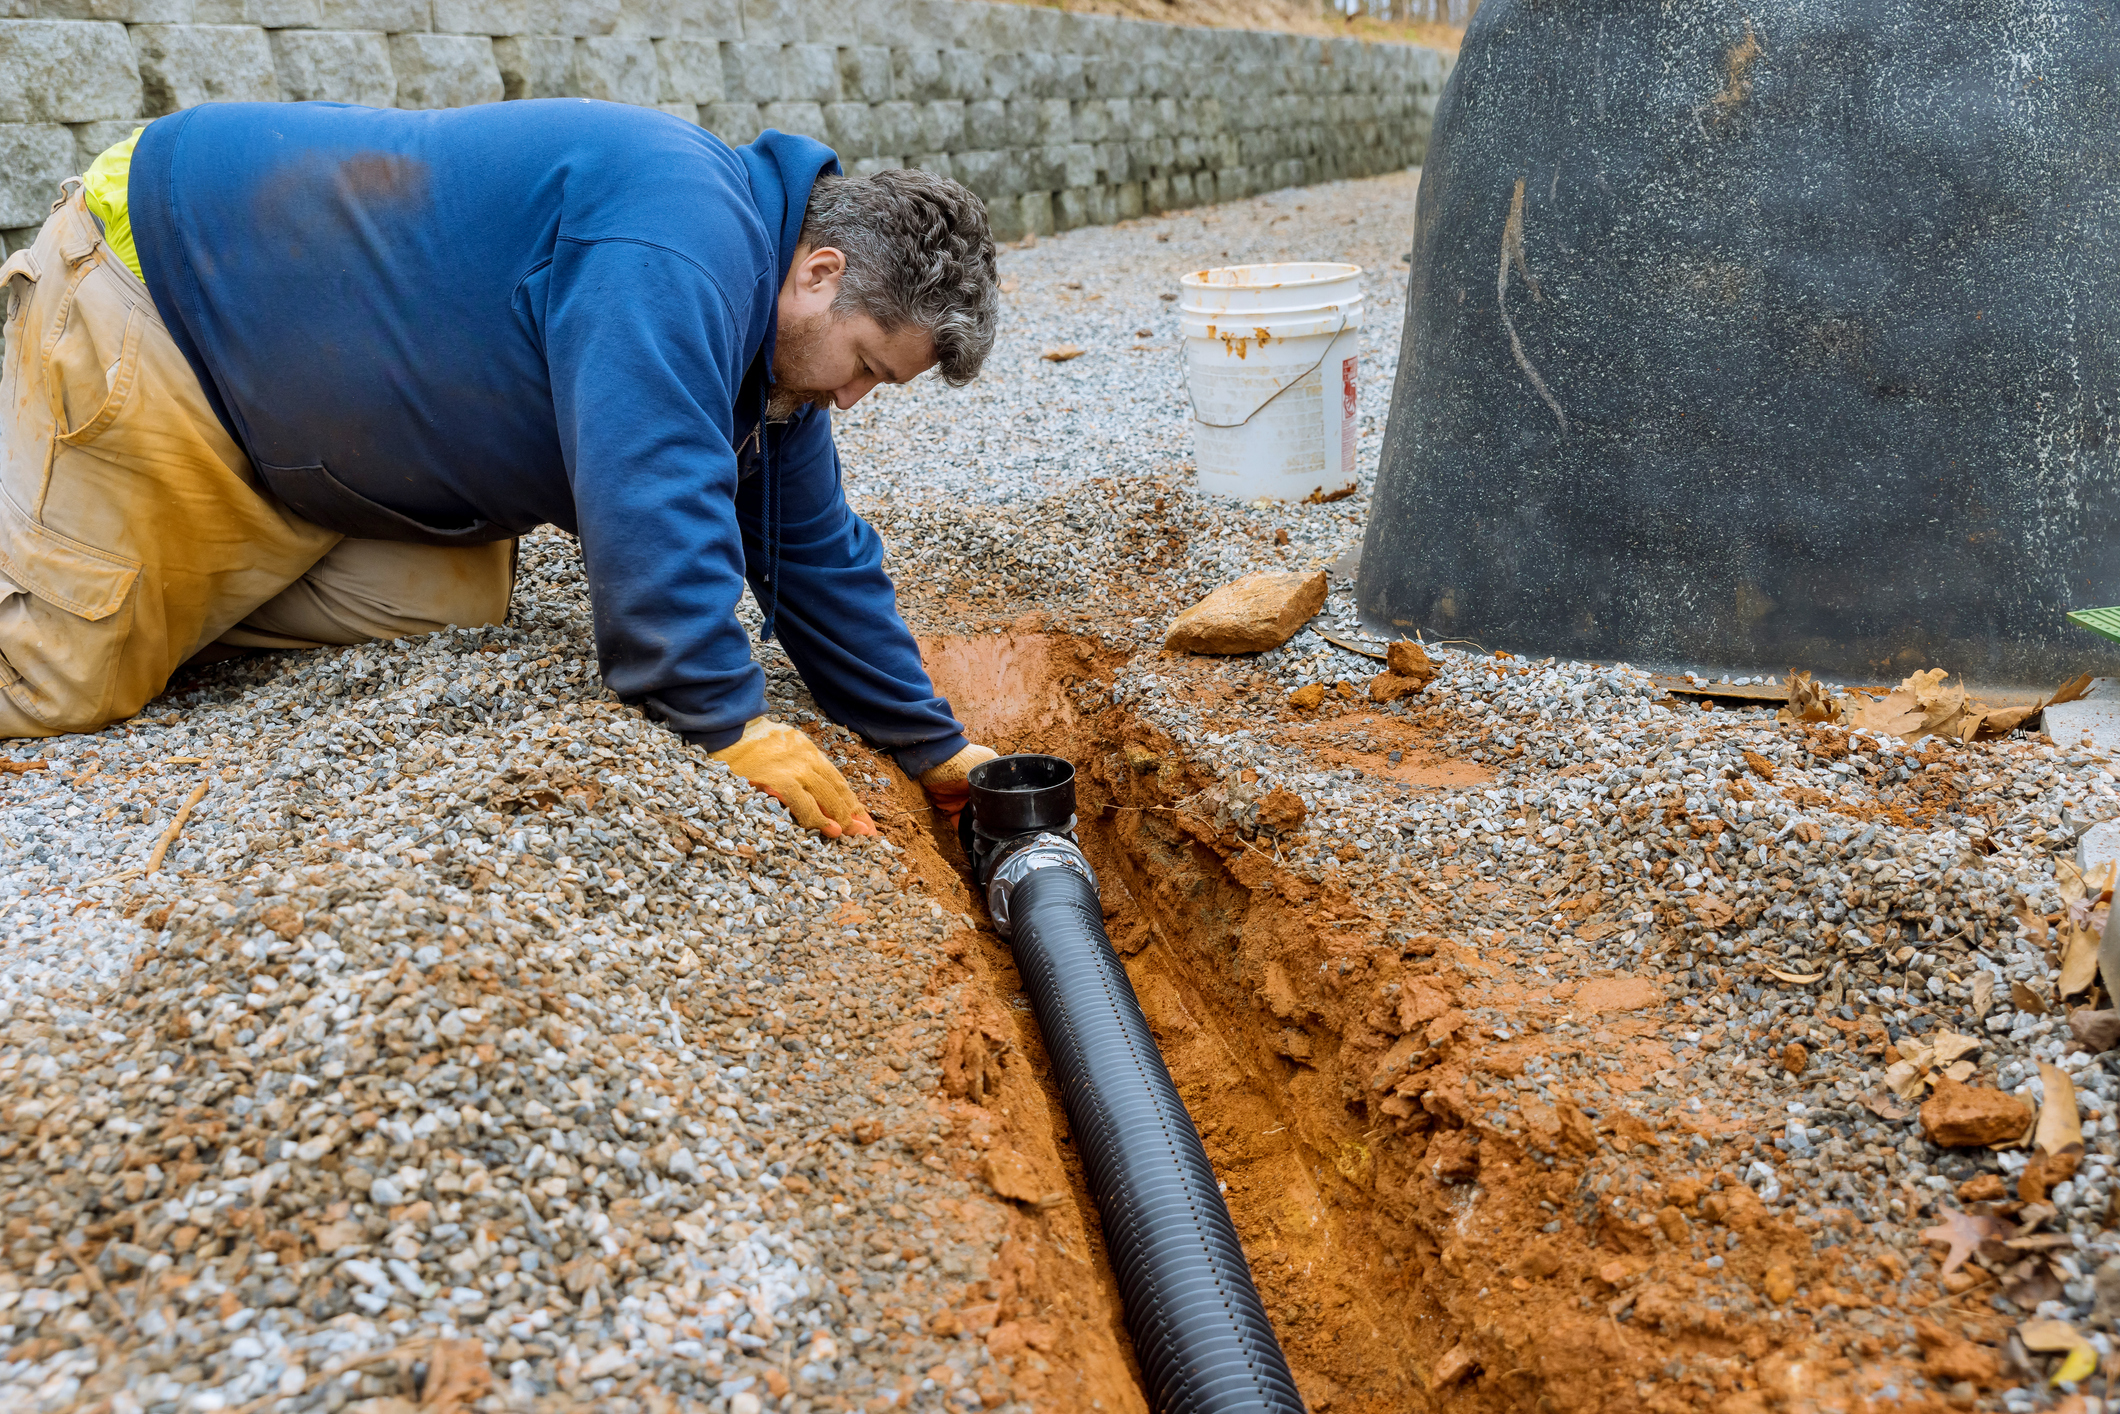
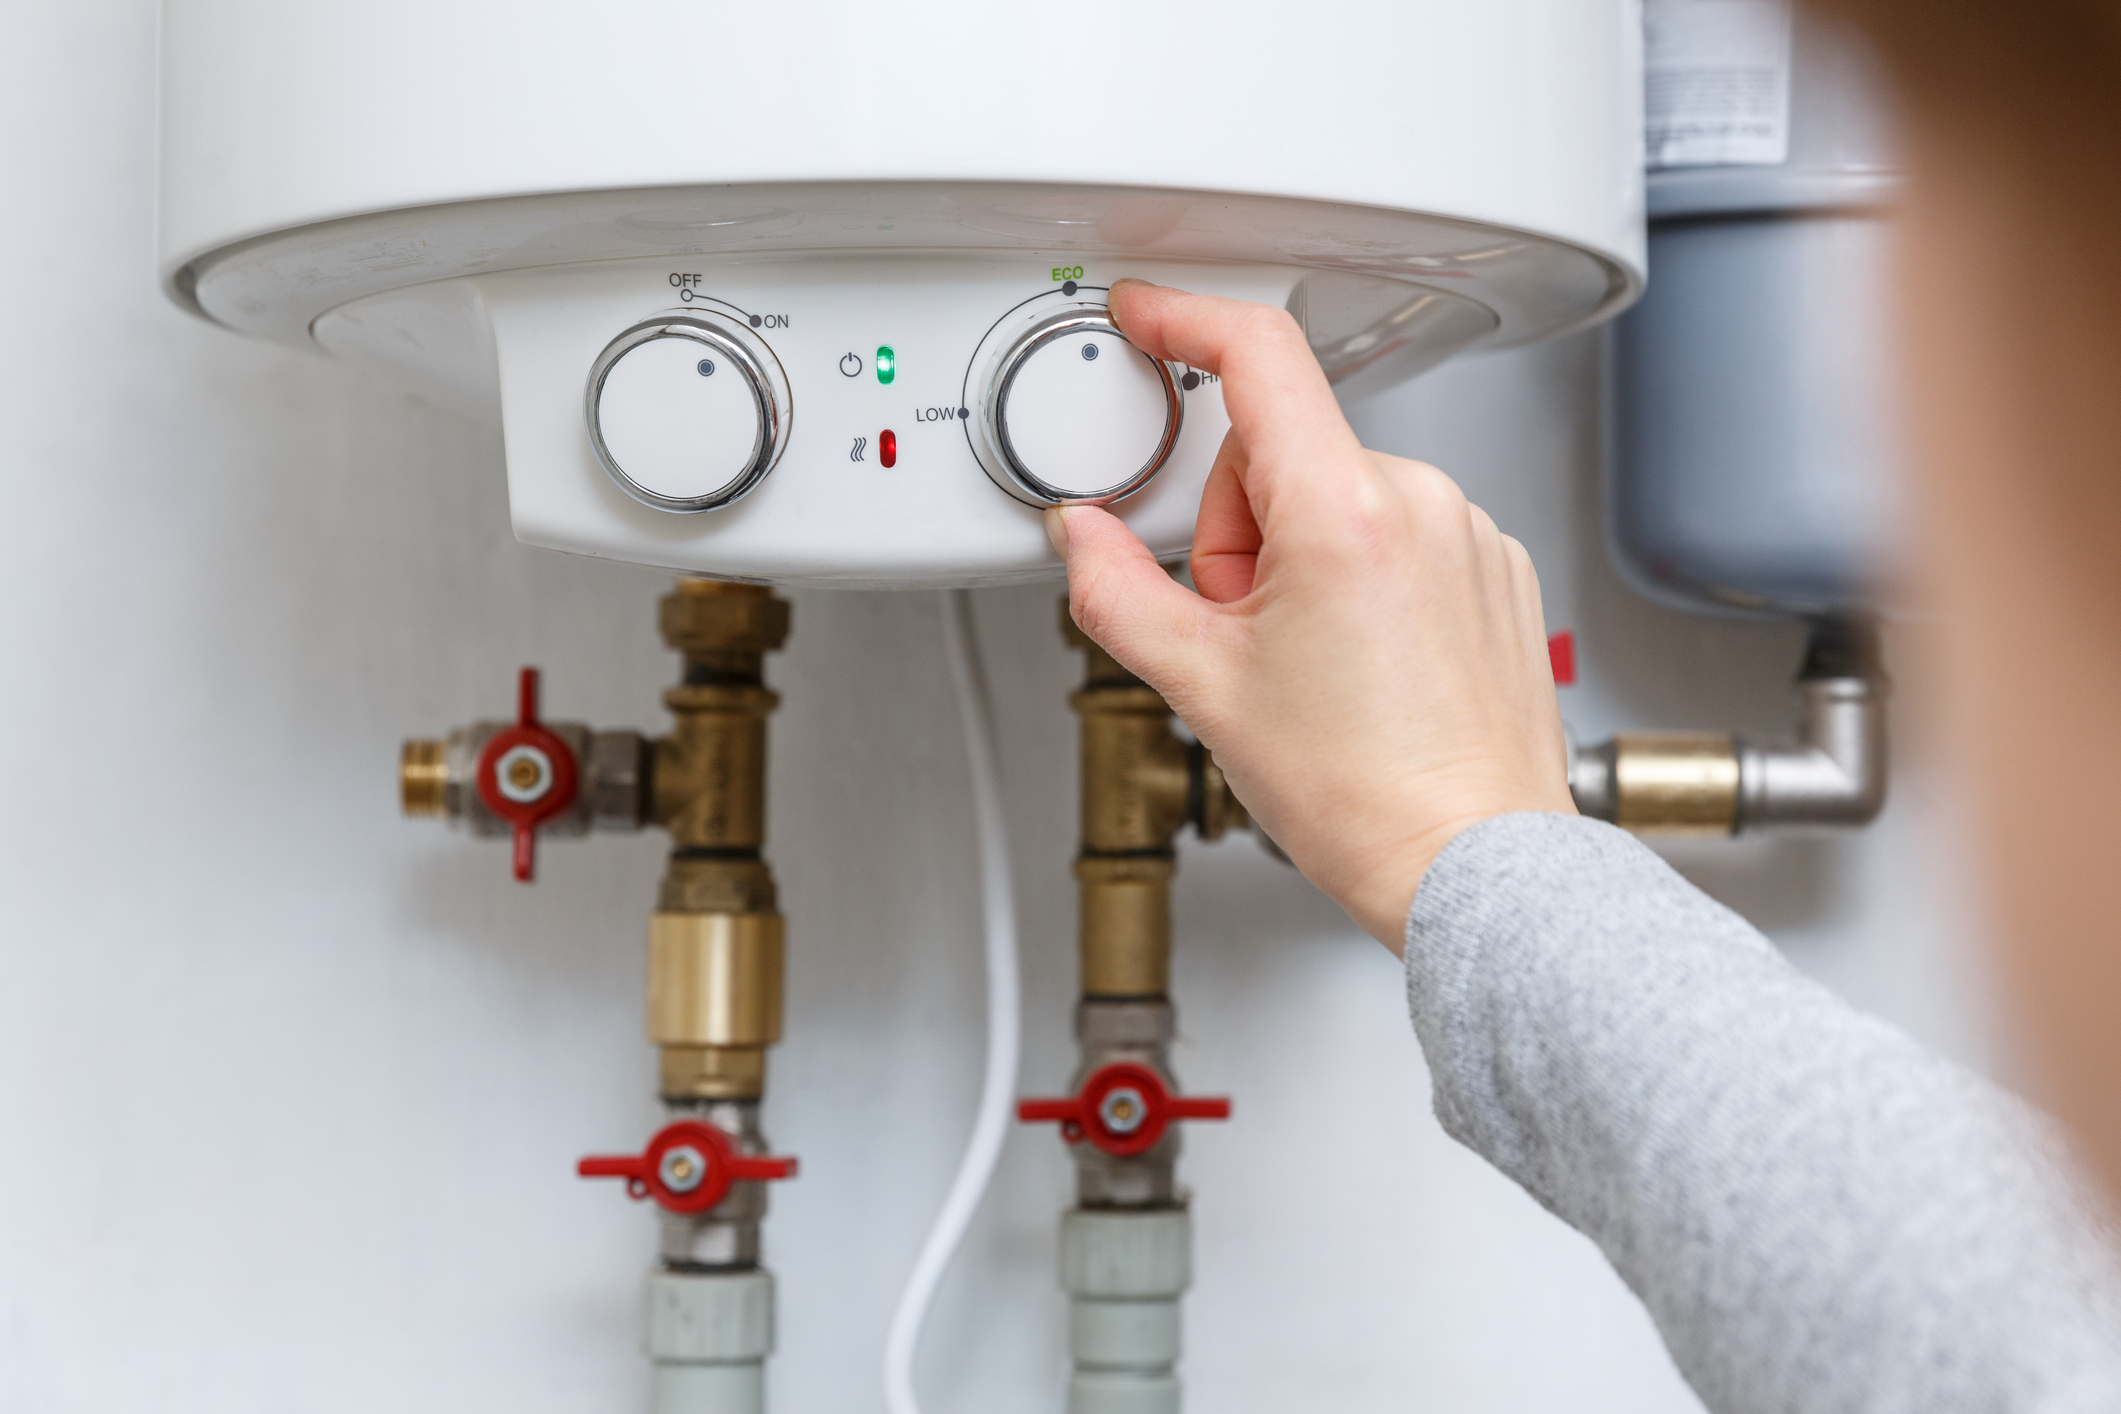
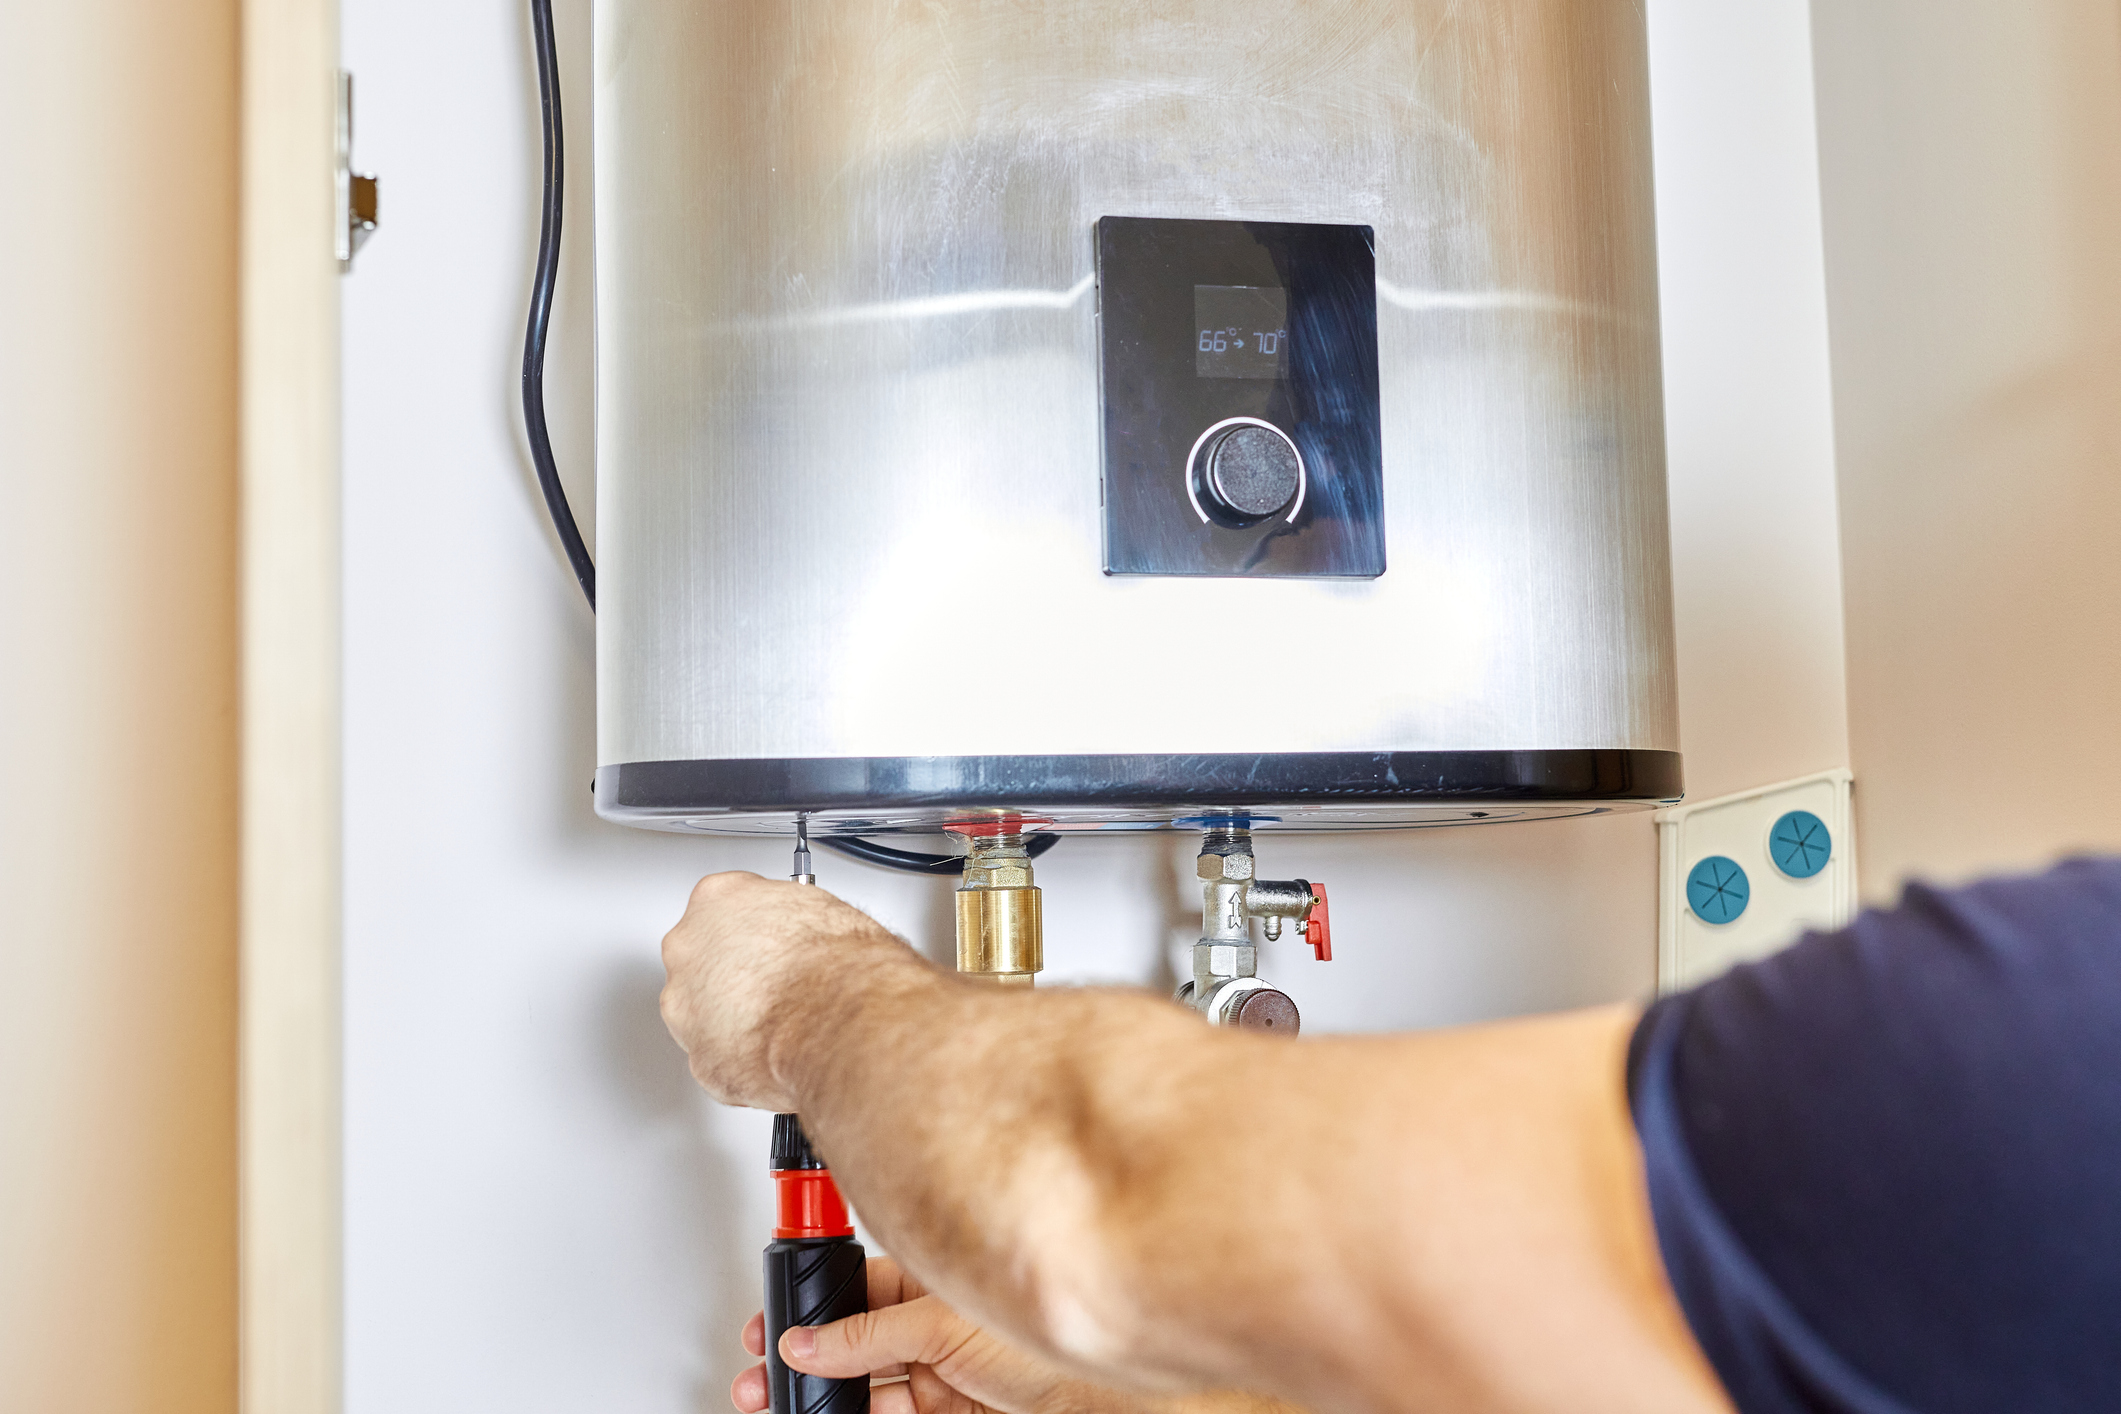
From hot water tanks to boiler repair services, we do it all.


The Best Plumbing and HVAC Services in Calgary and Surrounding Areas
Our goal is to offer comprehensive solutions that address plumbing and HVAC issues at their core rather than applying temporary fixes. Our skilled plumbers possess the expertise and tools needed to accurately diagnose and resolve any plumbing or HVAC issues in both residential and commercial settings. We recognize the importance of maintaining year-round comfort for your family or business, and our commitment to delivering reliable, top-notch service reflects this understanding. Whether you require heating replacement or AC repair near Calgary, Alberta, our dedicated team is ready to assist you.
WHAT OUR CLIENTS ARE SAYING ABOUT US
Finance Your Comfort: Easy Payment Plans Available
We understand that home improvement projects can be costly and unexpected. That is why we offer financing plans to help make your necessary plumbing and HVAC maintenance more affordable. With our easy payment plans, you can pay for your plumbing, AC, or heating services rather than all at once. To learn more about our financing options, contact us today!